Are you ready get started with the newest member of the Willow family? Well, luckily for you, we designed, developed, tested and tried Willow Go so that the multi-tasking, busy mom could finally pump and live her life. Our most affordable pump, Willow Go also fits discreetly inside and pumps quietly in your bra so you can get. it. done.
So, how do you get started with Willow Go? It’s easy.
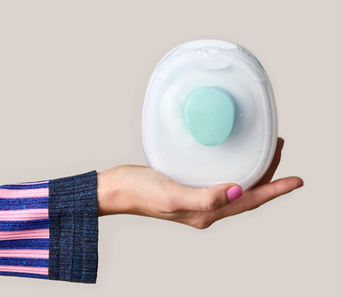
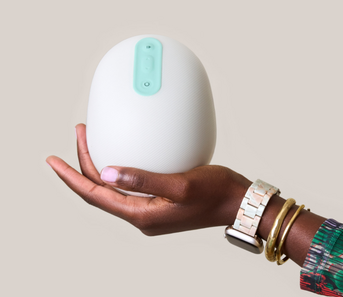
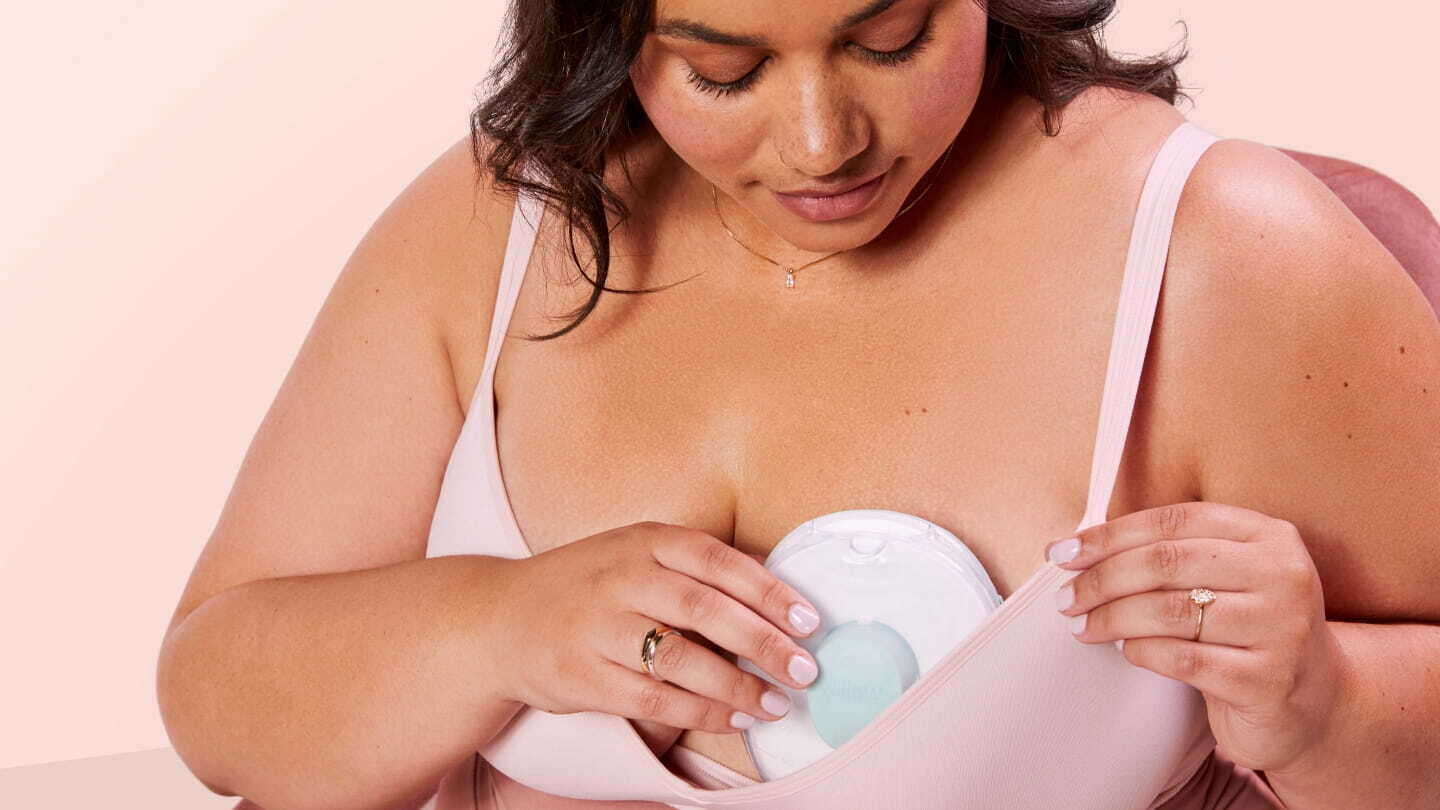
Willow Go™ Wearable Breast Pump
Willow Go™ Wearable Breast Pump
Next-level convenience—easy to learn, use, and clean—with a 100% comfort rating from moms.
Three Steps To Get Started With Willow Go™
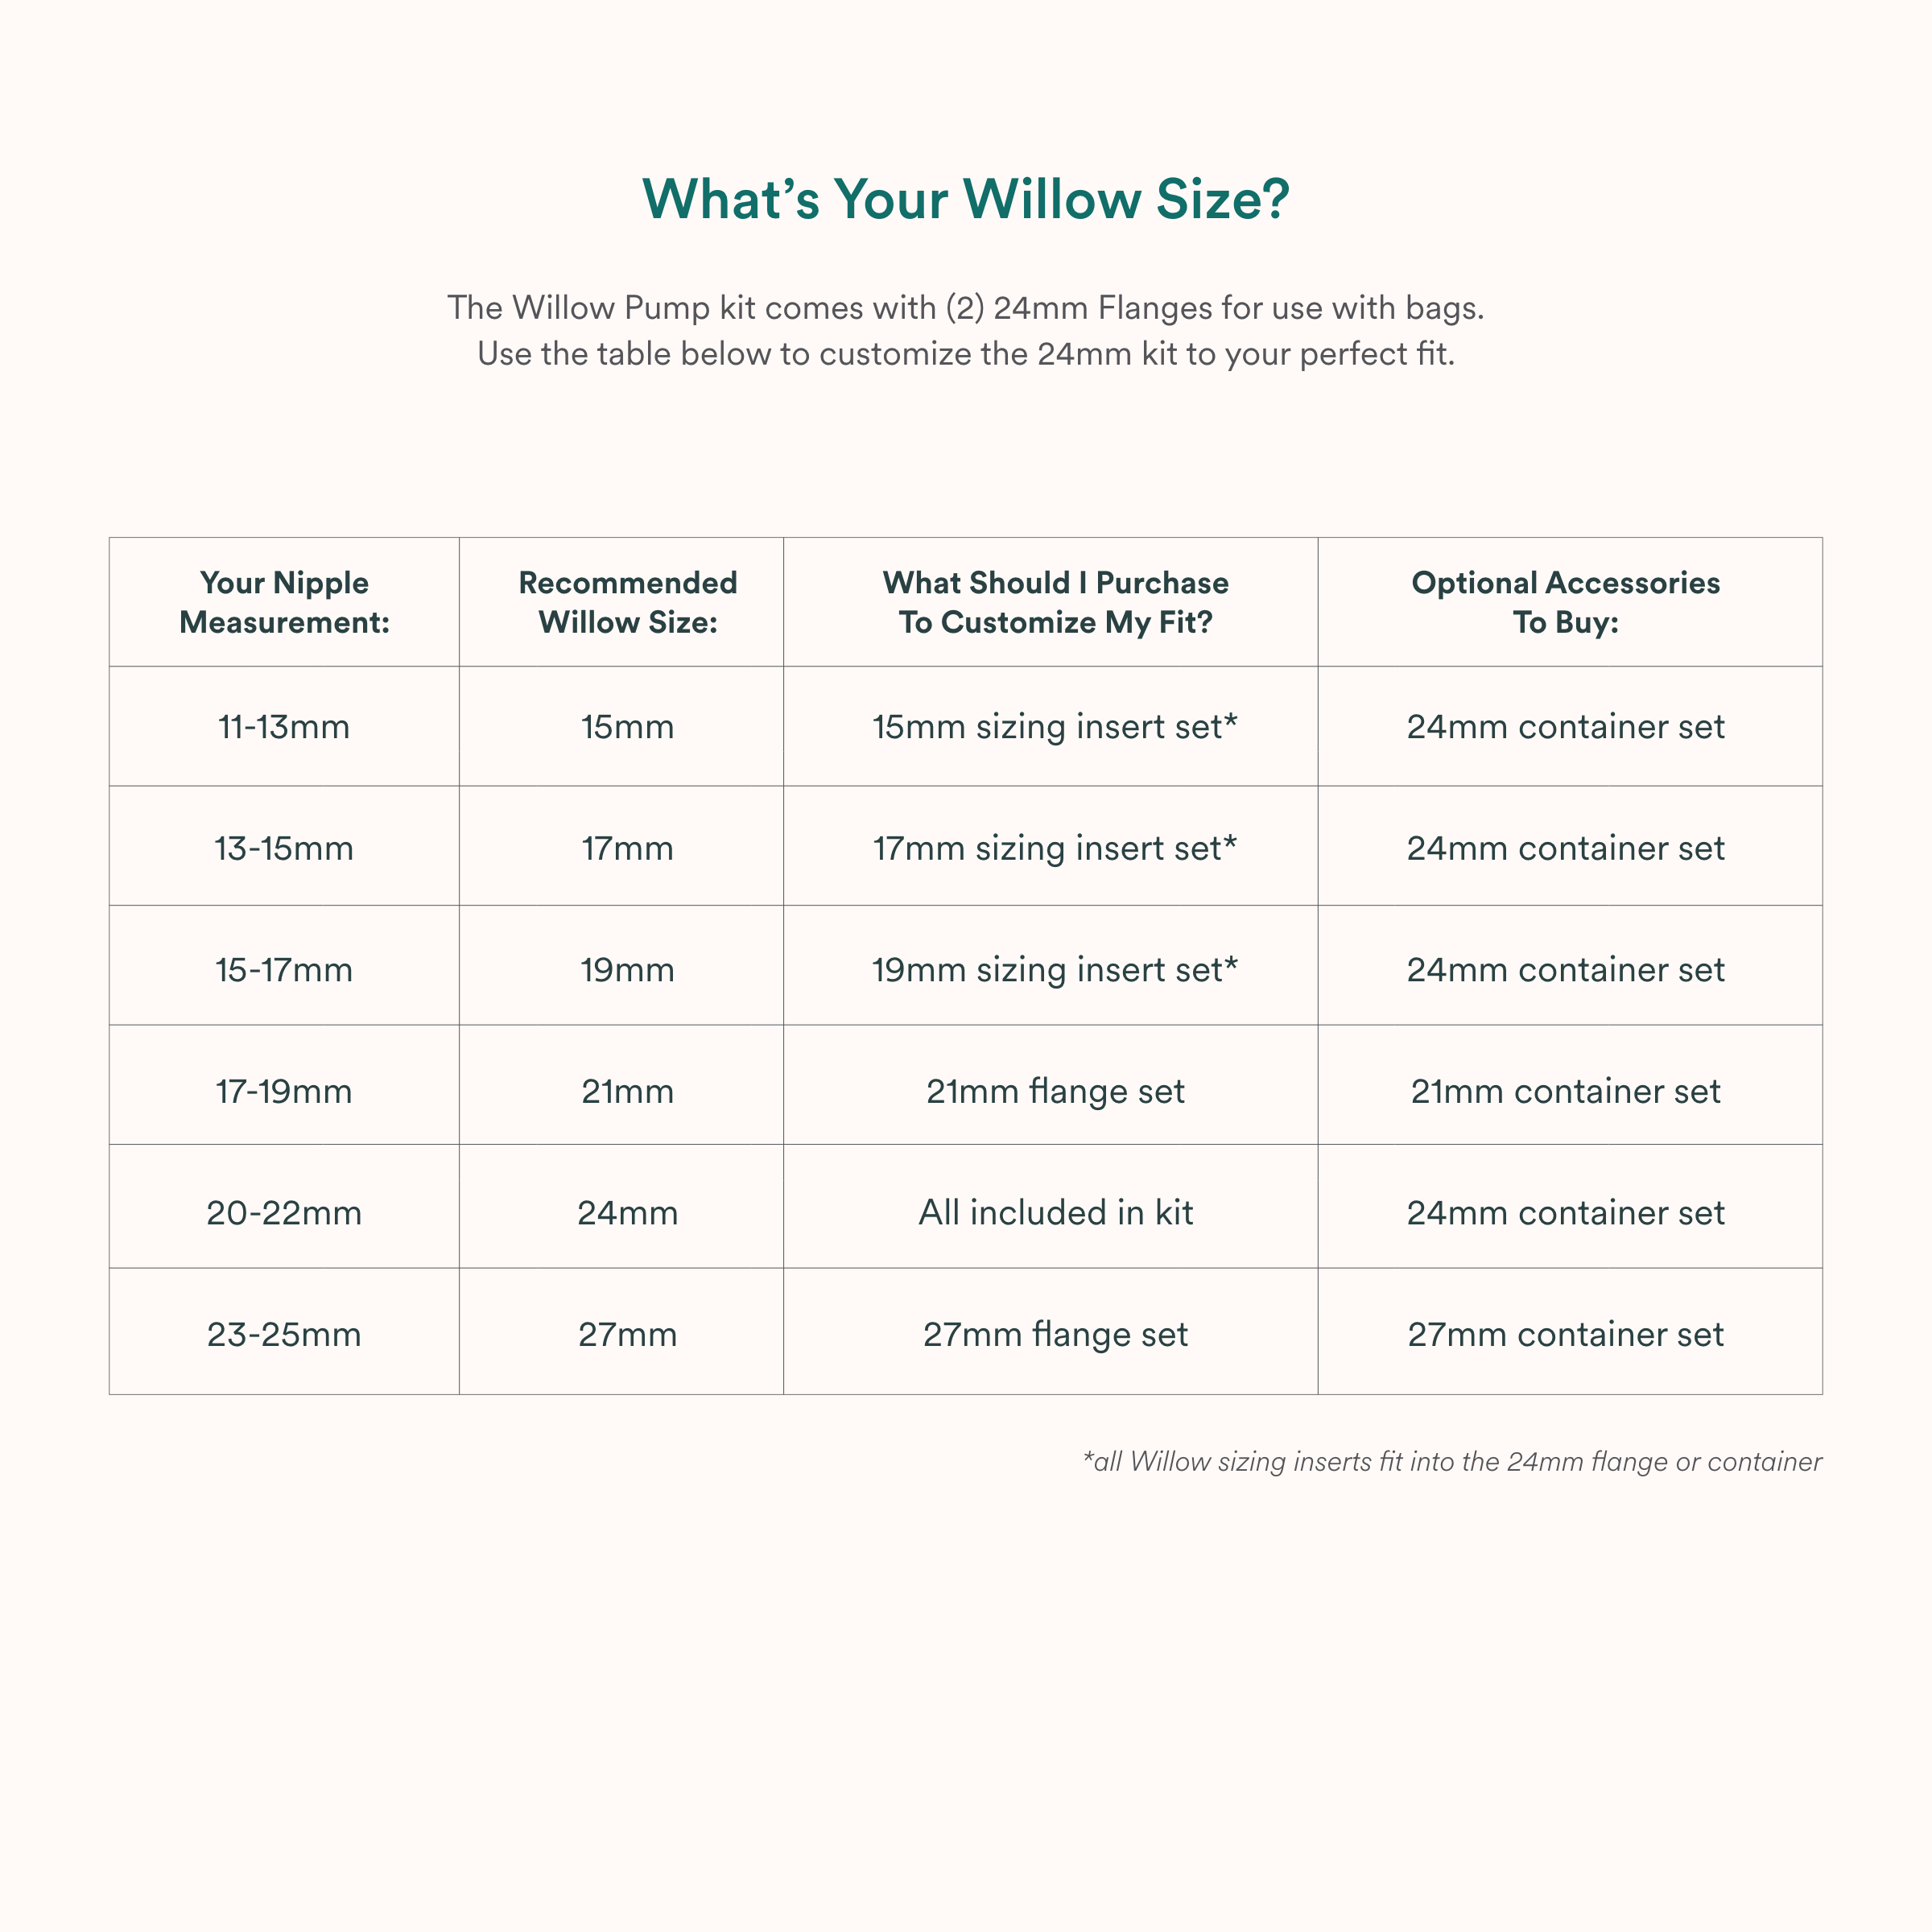
Step 1: Find Your Flange Size!
To get started, first check your flange size to make sure you have the right fit. Say it with us: Fit is everything. You’ll find a sizing guide in your box, but you can also check out this useful, skimmable sizing guide (below) to help you navigate nipple measurement and flange size. Remember, don’t skip this part. A proper fit will lead to greater comfort (you dont’ have time to be uncomfy) and better milk output. You’ll find a 21mm and 24mm flange included in your kit. If those aren’t the right fit for you, Willow has 27mm flanges and 15, 17 and 19mm sizing inserts too.
Step 2: Disassemble Your Willow GoTM
The pump will arrive assembled so first things first, disassemble Willow GoTM and boil the washable parts.
To disassemble, follow these steps:
Gently pull to remove the flange
Press the two buttons on the sides to remove the container
Pry apart the container back
Pull off the duck bill
Pop out the diaphragm
Step 3: Only Six Parts: Assembly is a Snap
Then, put your pump back together! We made it as easy as possible for you to assemble Willow Go. It’s just six parts that stack and snap together securely.
Step 4: Plug it in!
The pumps will arrive partially charged, but you’ll need to wake them up from sleeping mode. Plug the USB charging cable into the pump and then into a USB charger. Once the pump lights up, you should have sufficient charge for your first session.
How Stimulation and Expression Work with Willow Go™
First of all, a little vocabulary lesson.
What is stimulation?
Stimulation comes first and mimics the fast suck of your baby at the start of a feed, which is responsible for starting the letdown reflex when milk first starts flowing. With Willow Go you get six levels of stimulation.
What is expression?
Expression is a slower, stronger suction pattern that mimics the deeper suck typical of babies once the milk comes in. With Willow GoTM you get nine levels of expression.
What happens first?
Your pump will start in stimulation mode and automatically switch to expression mode after two minutes of pumping. Press the mode button at any time to change manually.
Check in with yourself! If your body reacts better to a slower paced suction, you’ll want to spend most of your session in expression mode. If you prefer a fast paced suction and your body responds well to that, feel free to remain in stimulation for the entire session or switch back to it at any time.
Be sure to experiment with all suction levels to see which is best for you. It’s an art not a science and you will eventually find the sweet spot where you get the most milk.
How to Pair Your Willow Go™
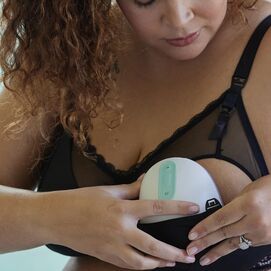
How to Get the Right Alignment With Willow GoTM
So, what exactly is alignment? It is the process of centering your nipple in the flange. We’re so glad you asked. Alignment is key to getting the volume you expect comfortably.
Alignment is generally correct when:
-
The sensation you experience while pumping is a gentle pulling, not pinching
-
After approximately 2 minutes, you can peek into your blouse and see milk flowing from the duckbill.
-
You pump the amount of milk you would expect
-
After your pumping session, your nipple looks just as it did before your session.
Correct alignment results in centered placement, milk flow and comfort. When alignment is off, performance suffers.
Pro Tip: Utilize the guides on the inside of the flange to assist in aligning Willow GoTM.
If at any time during your session you feel discomfort, observe less milk flow or the pump has shifted or slipped, simply re-center the pump over your nipple. No need to turn the pump off to adjust.
It’s important to align Willow GoTM correctly to have the best pumping experience. If you don’t get it right the first time, you’ll need to realign.
You’ll know you need to realign if:
-
You experience persistent discomfort
-
You cannot feel your let down at the expected time or you do not see milk flowing into the container after several minutes
-
Your milk volume plateaus before expected
There are two ways to realign with Willow GoTM.
The first is to simply shift the pump within your bra without turning the pump off. This is the go to method when something just doesn’t feel right, flow is slower than usual or you have bumped your pumps and need to shift one back into place.
The second is to turn off the pump, remove the pump from your breast and align again from the start. This is best for new users, when no flow is evident or when you experience discomfort. Look for a suction circle around your nipple, if it is not centered, this is an indication of how to improve your alignment.
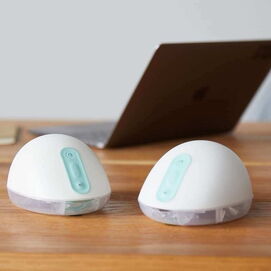
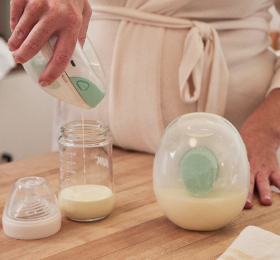
Willow Go™ is hands-free, cord-free, and made for multi-tasking. Free yourself from conventional breast pumps with Willow Go. Small, mighty, and mobile. Learn more here.